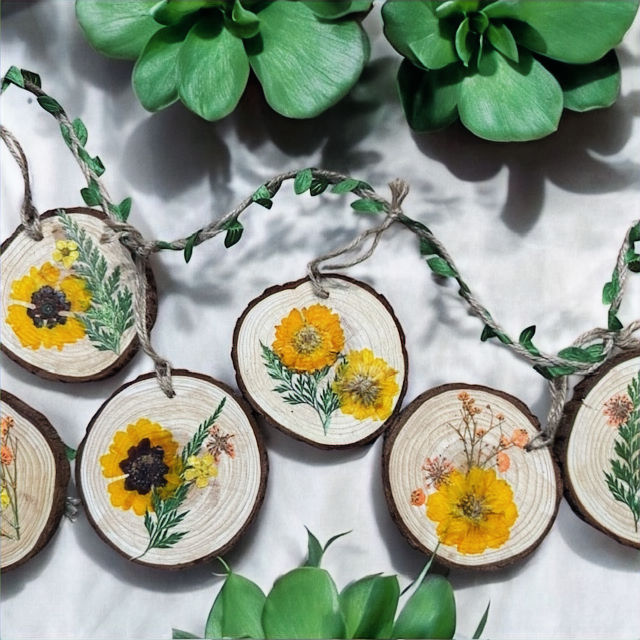
Spring Floral Banner with Perfect Paints
- bthackston6
- 13 minutes ago
- 2 min read
As the days get longer and the first signs of green begin to peek through the winter landscape, my heart starts to yearn for the vibrant colors and playful energy of Spring. And what better way to celebrate the season of renewal than with a cheerful, handmade banner? Lately, I've been completely captivated by the art of banner making. They're wonderfully versatile, adding a touch of whimsy and personality to any space or occasion. With Spring just around the corner, I couldn't resist creating something bright, floral, and bursting with springtime joy. Join me as we embark on a fun and easy DIY project to craft your very own unique Spring banner, ready to welcome the season with open arms!
Supplies:
Precut wood slices
Hemp String
Pressed flowers
Mod Podge
Perfect Paints Shimmering Matte Acrylic in Rain Slicker and Vintage Patina

Isn't this just the cutest little wood slice? And so super easy to do. I found some pressed flowers online that came in the same color theme BUT you can press your own flowers too. Whatever is the easiest for you.
To start I bought a package of wood slices and just went through making sure they were the shape and size I needed. These already come with holes for hanging so I went ahead and added hemp string to each one.... roughly 3-4 inches long.

I then layered my pressed flowers on each block. Adding greenery to some, extra flowers to others. Once you have the desired look then I covered the block with mod podge. While still tacky you will want to lay the flowers in position and then very lightly add mod podge over the top.

Once that has dried then I added a touch of Perfect Paints Shimmering Matte Acrylic in the areas that I wanted to shimmer and highlights. The colors of the flowers are still so vibrant, but it never hurts to have some extra shimmer :) For this particular project I used the Vintage Patina on the greenery and a tad of Rain Slicker on the tiny yellow flowers.

I found some hemp string that had leaves twisted around it which made the perfect garland string. Spread out your wood slices about 8-9 inches apart and then tie to the string. This gives a nice even hang to the garland.

Isn't the finished product simply lovely! And this can be done with all kinds of flowers and colors throughout the year!
Hope you enjoyed today's project.
XXOO
Becky Thackston


Comments