
Upcycled Aluminum Flowers with Perfect Paints!
- walterz74
- Sep 16, 2024
- 4 min read
Hi, friends - Walter here!
I'm a huge fan of the Fall season: cool, brisk mornings, the smell of falling leaves, apples, and pumpkins. I love it all! Another thing that I love about Fall is the color palette and the way that it appears in nature. There is so much natural beauty in the leaves, flowers, and plants that grow at this time. I'm also a fan of mixed media projects that incorporate upcycled items into the design. So why not combine the fall color palette with a mixed media project? That's exactly what I did for this very cool project: flowers made from aluminum cans inside of a vase made from an empty glass bottle.

Here's what I used to make this project:
Empty aluminum (Diet Coke) cans
Empty glass bottle
Piece of packing foam that is 1"wide x 6" long
Tim Holtz Sizzix Bigz Tattered Florals Die
Cosmos Dark Green Floral Plant Stakes Artificial Flower Stub Stem
Prima Marketing Melange Art Pebbles
Turquoise, White, and Bronze Alcohol Inks
White gesso
Modge Podge
Craft Glue
Super Glue
I started by making the vase to allow time for it to cure for 24 hours before putting on a coat of Modge Podge to protect it. I used a cotton ball to add a base coat of turquoise alcohol ink (mixed with some white alcohol ink to lighten it) onto the bottle. Once dry, I used another cotton ball to add some random blots of bronze alcohol ink. I used alcohol ink because I wanted the bottle to be translucent; however, Perfect Paints acrylic paints would be a great medium to use if you want an semi-opaque look. I would suggest wearing latex gloves when adding the alcohol ink to avoid your fingers getting stained. I set the bottle aside for 24 hours to completely dry & cure. The next day I used a foam dauber to add a light coat of Modge Podge to protect the ink.


For the flowers, I cut the top and bottom off of the aluminum cans and cut the remaining aluminum into pieces that would fit into my die cut machine. I cut out several flowers of various types to use in the design. The die cuts very easily through the aluminum and made this step so quick and easy.
With all of the flowers cut, I added a coat of white gesso to each side of the flowers to help cover up the bright colors on the aluminum and to give the Perfect Paint mediums something to cling to when painting. I also added a coat of the Perfect Paints Shimmering White Stucco to the front of the large flowers to add some texture.


It was now time to paint with some Perfect Paints acrylics! I used Honey Gold, Cantaloupe, and Sangria on the flowers and Vintage Patina on the sets of leaves. The Perfect Paints add such a rich color and shine to them! For the flower pistils, I used Prima Marketing Melange Art Pebbles of varying sizes. I added some X-Small Glass Bead Gel to the tops of two pebbles for texture and let it dry overnight. Once they were dry, I painted the bottoms of the pebbles with Aged Copper paint.

The next step was to decide on the flower design. I used craft glue to adhere some of the flowers together and to also add the pistils to the flower centers. Vintage Patina paint was used to color the metal stems and they were set aside to dry. Once dry, I used super glue to attach a stem to the back of each flower. I trimmed the stems with wire cutters to make them various sizes.
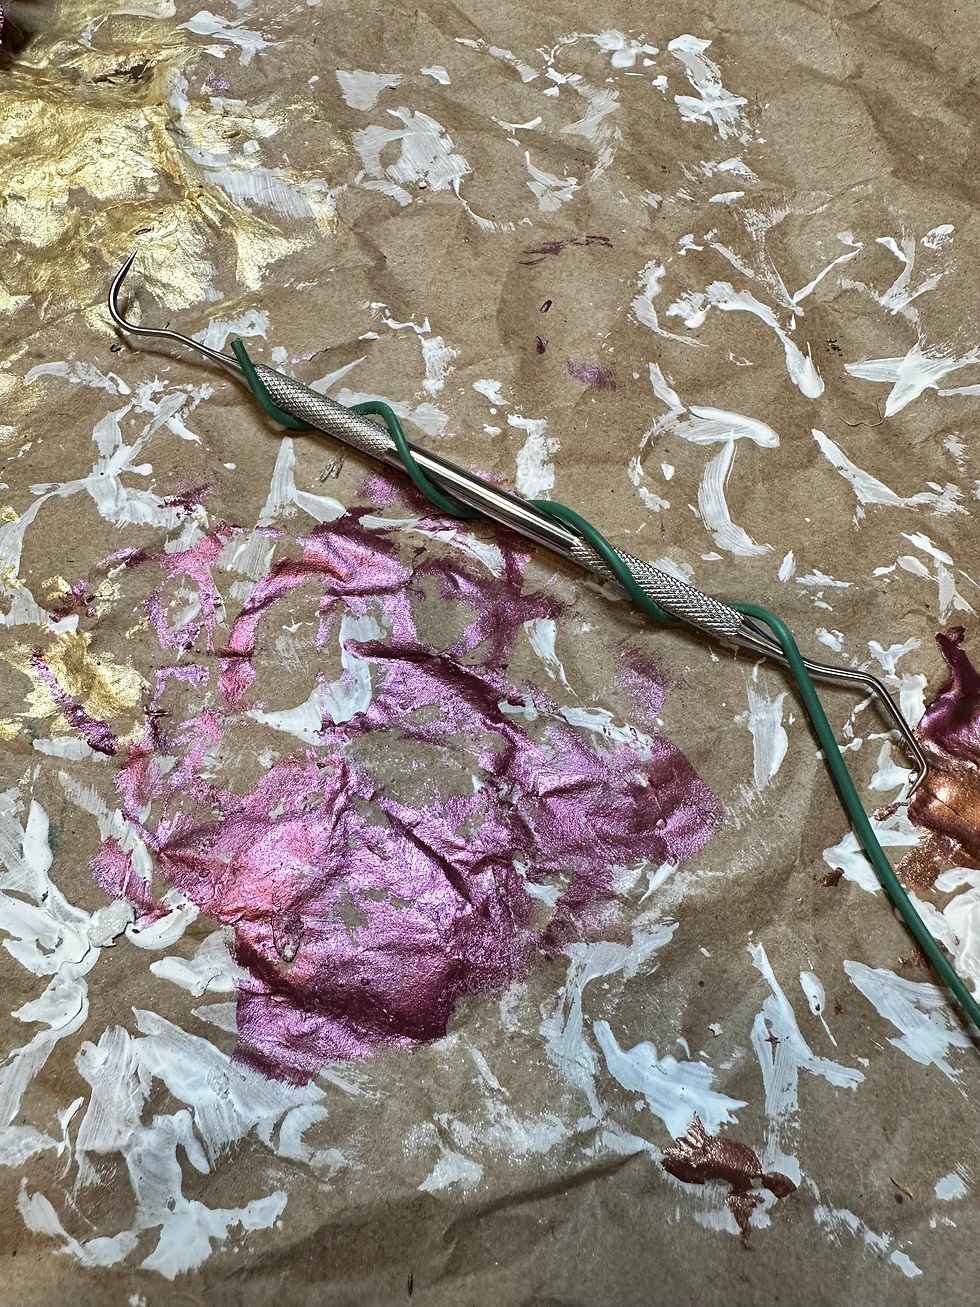
My flowers were now complete! I wanted to create a couple of twirled reeds and a cattail to the arrangement to complete it. For the twirled reeds, I took a metal stem and bent it around the base of a crafting hook to add the twirly shape to it. I only twirled about halfway down the metal stem so that the remainder would stick into the vase. I repeated that step for to create a second reed, and then painted them with Vintage Mercury paint.
I created the cattail from a piece of packing foam (another upcycled item!) by cutting it at various angles around it to shape it. I painted it with Aged Copper paint and, once dry, inserted a metal stem into the bottom end. A light coat of Vintage Mercury and a couple of drops of super glue at the base were the finishing touches for it.

It was finally time to create the arrangement. I added the flowers, reeds, and cattail into the vase and played with where to put them until I was happy with it.


This was such a fun and easy project! The Perfect Paints and mediums are the perfect choice to color and add detail to the flowers. They shimmer when the light hits them! This is a great to take items that would normally end up in a landfill or recycling center and turn them into a beautiful piece of art.
Thanks for spending some time with me on the blog today. I'll see you again soon! ~ Walter


Comments